The electric pressure cooker and the slow cooker may look alike, but they function very differently. The name of each appliance says it all — slow-cooked food takes hours, while the electric pressure cooker prepares food quickly. When you’re converting a slow-cooker recipe to an electric pressure cooker, keep the following suggestions in mind:
Is the Recipe a Good Candidate for Converting?
Some slow cooker recipes are not good candidates for pressure cooking. These guidelines can help you determine if your recipe will convert well and also be useful when creating your own pressure cooker recipes.
- Has enough liquid – Electric pressure cookers require liquid to function properly. The required amount of liquid varies from unit to unit, though 1 to 2 cups is standard. So, if your recipe already has liquid, then it should convert well. If not, add the minimum amount.
- Does not have a fried, crispy coating –The electric pressure cooker is all about steam cooking, not ensuring a crispy texture. DO NOT USE AN ELECTRIC PRESSURE COOKER TO FRY FOODS.
- The recipe does not call for a tender cut of meat – The electric pressure cooker is wonderful for tough cuts of meat, but if you are cooking tender cuts of meat, pressure cooking may reduce the quality.
Omit These Ingredients During the Pressure Cooking Process:
- Milk and other dairy products are not good choices for cooking under pressure since they tend to coagulate and clump together. For this reason, they should be mixed in at the end.
- Wine does not evaporate under pressure; the flavor tends to intensify. The better approach is to add wine at the end and simmer, with the lid off and not under pressure.
- Thickeners, such as corn starch or arrowroot, should not be cooked under pressure. Instead, mix them with water and whisk them in at the end.
Pressure Cook in Stages
Slow cooker stew recipes typically combine all ingredients (meats, grains, beans, and vegetables) and cook on low for 8 hours. But when pressure cooking, adding vegetables at the beginning will cause them to be too soft or ‘mushy’ by the time the meat is cooked!
- Cook the meat, broth, grains and beans first.
- Add the vegetables second, toward the end of the cooking time.
- For example, if your recipe directs you to cook the meat, rice and beans for 20 minutes, release the pressure at 15 minutes and when it is safe to open the lid, add the vegetables and put it under pressure for the remaining 5 minutes.
Modify the Cooking Time
Check your electric pressure cooker manual for cook times of different food items. Trial and error indicates that if a meat-based dish can be cooked in 8 hours on low or 4 hours on high in a slow cooker, it can be cooked in an electric pressure cooker in about 25-30 minutes.
Ways to alter the cooking time required:
- Because meat tends to require the longest cooking time, cut meat into smaller pieces so it will take less time to cook and complement the timing of the other ingredients.
- Refer to above, when discussing cooking in stages.
Reduce the Liquid, if Needed
When pressure cooking, very little liquid is lost to evaporation. In general, the liquid in the original slow cooker recipe should be reduced to 1 to 2 cups when converting to an electric pressure cooker. Exceptions to this would be:
- Grains and Beans– Use the exact amount needed to fluff up, with a small amount more for the other ingredients in the recipe.
- Soup– Use the amount of liquid you want in the finished result.
If cooking a baked dish, such as a quiche, bread, lasagna, cheesecake, etc. the batter/mixture will need to be placed in an oven safe baking dish and placed on the trivet that comes with your electric pressure cooker.
- You will still need to add the minimum amount of water required for your electric pressure cooker (usually 1 to 2 cups) to the inner pot inside the cooking unit for steam production.
Decide the Best Release Type: Natural or Quick
- A natural release will usually give better results with meats, except when preparing a recipe in stages, such as adding vegetables and cooking for more time.
- A quick release works better with vegetables, otherwise they overcook.
- Rice and beans do well with either type of release.
Take Time to Brown
An electric pressure cooker works well for browning since you can use the same pot, unlike the slow cooker where you must brown the meat on the stove top in a different pan first.
- Select the Sauté button.
- When the display reads HOT, add some cooking fat.
- Put your meat in and brown on all sides.
- If you have numerous pieces, such as 6 chicken thighs, brown them in stages so they are not overcrowded.
- Once browned, select Cancel.
- Proceed with the rest of the recipe.
Safety First!
Always be mindful of safety and check the following before using and electric pressure cooker:
- Make sure the seal is clean.
- Ensure the venting knob is in the sealing position.
- Check that the valves are clean.
- Make sure the condensation cup is clean and empty.
- Make sure the cord is not damaged.
Scale Back the Recipe, if Needed
A slow cooker can be filled almost to the top with ingredients, but an electric pressure cooker cannot as it will not pressurize if it’s too full. If it doesn’t pressurize, the food won’t cook properly, so make sure you’re scaling back your recipes.
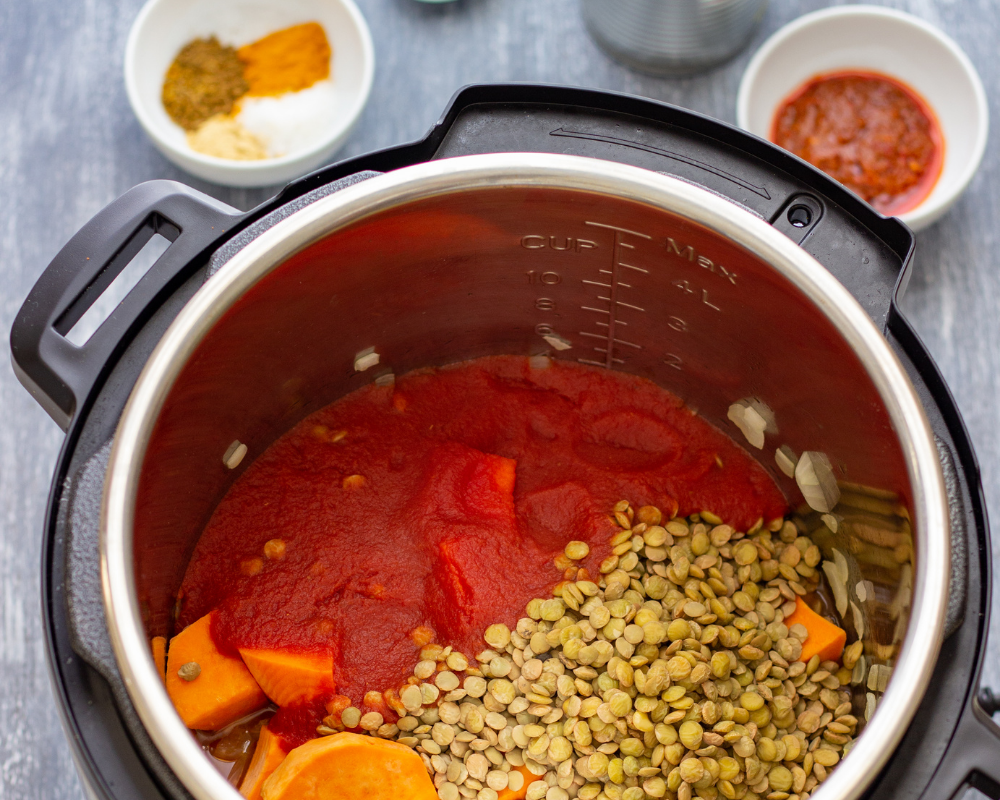
- In general, you will need to keep the ingredient level below the 2/3 full “MAX FILL” line.
- If cooking ingredients that expand (like beans, pasta or grains), fill the electric pressure cooker only to the 1/2 full mark.
Most Electric Pressure Cookers Can Also Slow Cook!
If your electric pressure cooker has a ‘slow cook’ setting:
- Use ‘slow cook’ recipes and/or instructions formulated for your unit.
- Be flexible and determine which foods you and your family like better slow cooked vs. pressure cooked.
- Plan ahead to accommodate for the longer cooking time needed when using the slow cook setting.
- Pressure cook when you are in a hurry, have limited time for food preparation, or when the cooking results are actually better compared to slow cooking!
Thanks to Becky Hutchings (University of Idaho Extension) and Mary Snow (Colorado State University Extension/Jefferson County) for researching and contributing the information provided in this handout.