
Did you know…
- The fermenting microorganisms in sourdough starter need to be fed fresh flour and water regularly to survive and grow.
- Regular removal of some starter is an important step when feeding to stabilize the volume of microorganisms and ensure nourishment for metabolic processes.
- A benefit from maintaining a sourdough ecosystem is a ready source of leavening that will yield bread and baked goods with high quality taste, texture, and nutritional benefits.
Traditional sourdough bread is made using a starter, which may be obtained from fellow bakers, purchased from food fermentation retailers, or made from ‘scratch’ by mixing flour and water following recommended best practices.
- Instructions are provided in this resource for maintaining an established starter culture and making 2 medium loaves of sourdough bread.
Maintaining the Starter
- NOTE: Keep your starter covered in an air-tight container and refrigerated when not in use. Ideally, feed and use the starter weekly.
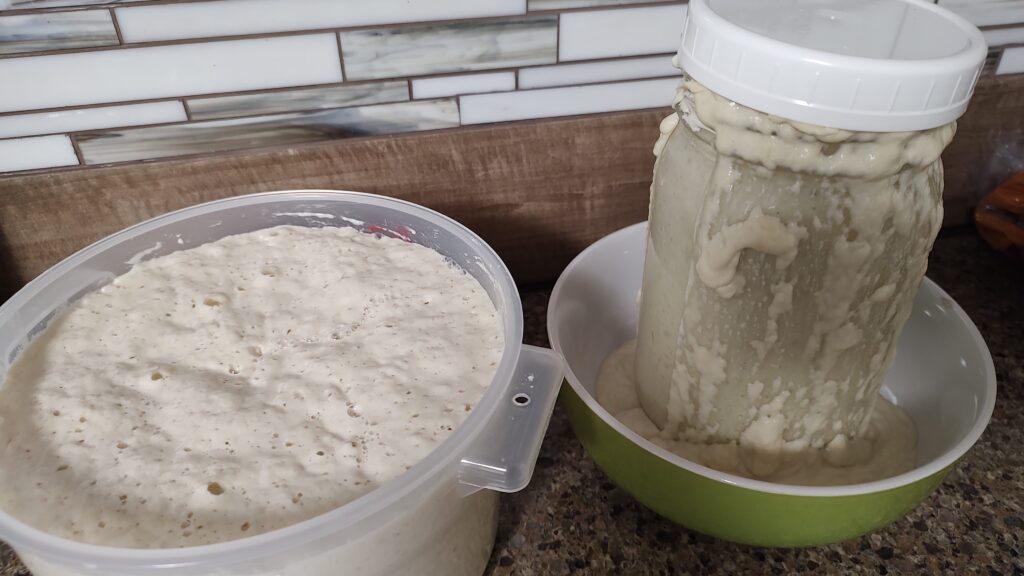
- Wide-mouth quart canning jars are popular for storing sourdough starters, though larger (2 quart) restaurant-type food storage containers (Fig. 1) may be better for minimizing messy overflow.
1. Remove starter from refrigerator and loosen lid. Let warm at room temperature for 1-2 hours.
2. Stir and remove all but 1/2 cup of starter from container. Set aside the ‘removed’ portion of starter to use for baking. If there is more removed starter than needed, excess starter can be shared, frozen, used in other recipes, composted, or discarded.
3. Feed the ½ cup starter in the storage container by adding 1/2 cup warm or room temperature water and stirring slightly to blend. Gradually stir in ¾-1 cup unbleached all-purpose, high protein (11-13%) flour to yield a very thick batter.
4. Scrape down sides of container with a clean rubber spatula.
5. Loosely cover the container and let starter ferment at room temperature until double (depending on room temperature, can be anywhere from 5-8 hours). Place a dish under your container to catch possible overflow!
6. Once the starter has doubled and then collapses back to its initial level, cover the container tightly and store in the refrigerator, ideally using and feeding weekly.
- Before refrigerating, clean outside of container to remove any starter overflow.
Making Sourdough Bread
- NOTE: Makes two medium loaves.
- Feed the ‘removed’ starter to make a sponge:
1. Into a large glass measuring container, transfer 1/2 cup of the removed starter and with a sturdy spoon stir in 1/2 cup of water followed by ¾-1 cup high protein, all-purpose unbleached flour to yield a very thick batter. This is the same proportion of starter, water, and flour that was used above to feed the starter (~1:1:2).
2. Cover the container loosely with plastic wrap or a food-grade bag and let ferment just until double (approximately 5-8 hours) at room temperature before continuing to make the dough. Place a dish under your container to catch possible overflow!
Mix and knead the dough:
3. Transfer the fed and doubled sponge to a large mixing bowl and add 2 cups water. Stir with a whisk or sturdy spoon to combine.
4. Stir in 2-3 cups all-purpose flour (or up to 50% whole grain flour) and beat for 100-200 strokes to strengthen and stretch gluten and decrease hand kneading time.
5. Stir in 1 1/2-2 teaspoons salt plus any other optional ingredients to add interest, flavor, and a nutritional boost, such as chopped dried fruits, oats, herbs, olives, nut, seeds, etc.
6. Gradually add (1/2- 1 cup at a time) enough additional all-purpose flour, stirring and then kneading by hand to create a soft and pliable dough. (If the dough is still sticking to your hands, continue kneading and adding more flour (1/8-1/4 cup at a time).
7. Remove dough from mixing bowl and lightly oil the bowl. Place dough back in the bowl and flip to coat lightly with oil on top and bottom. Cover with plastic wrap or a large food grade bag that won’t touch or impede the rise of the dough.
Proof the dough:
8. Let dough rise at room temperature until double (about 2-3 hours, depending on your elevation).
- Alternatively, you can let the dough rise for 1 hour at room temperature, and then transfer it to the refrigerator for 8-24 hours to develop a more sour flavor and enhance the health benefits from longer fermentation.
- If dough is refrigerated, transfer it to room temperature to let warm for approximately 1-2 hours before shaping.
Shape the dough:
9. Turn dough out onto a lightly floured, clean counter or cutting board. Divide into two equal portions.
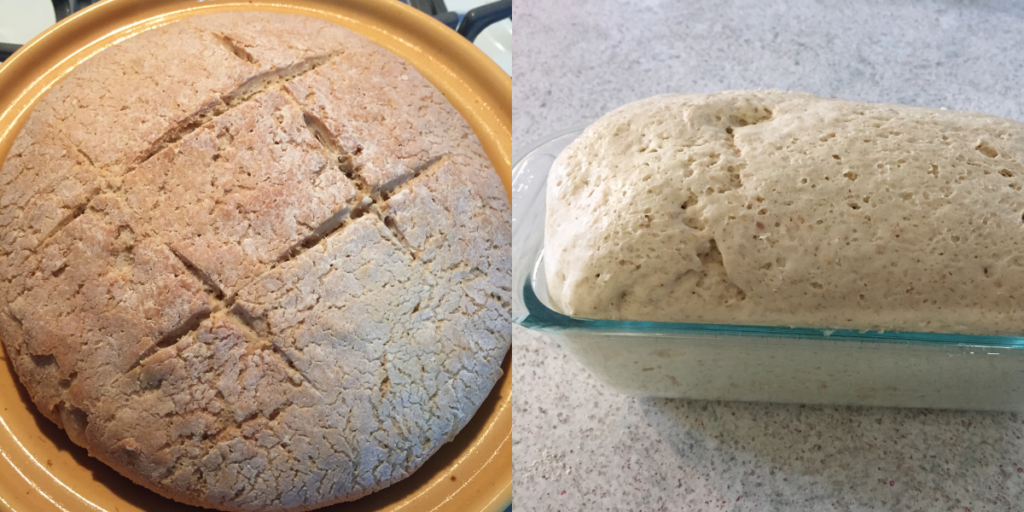
10. Shape each piece into the desired loaf shape, stretching the dough toward the underside of the loaf until it feels taut and the seams are secured underneath.
11. Place each piece of dough either (1) into medium-size (2.5 quart) mixing bowls lined with parchment paper (to transfer to preheated Dutch oven), or (2) greased or parchment paper-lined loaf or pie pans. Cover with plastic wrap or a food grade plastic bag and let rise until double, 2-3 hours depending on your elevation.
Bake:
12. About 20-30 minutes before the end of the final rising period, adjust an oven rack to the lower middle position, place Dutch ovens and their lids in the oven, and preheat to 450⁰ F.
- If you don’t have a Dutch oven, sourdough bread can also be baked on a baking sheet or in a pie pan or loaf pan. It is not necessary to preheat these pans prior to baking.
- Adjust oven rack to the middle position. Preheat the oven to 425⁰ F. Place an empty oven-safe container (such as a cake pan) on the lower-most oven rack to serve as steam pan.
13. Once oven is preheated:
- Use a sharp knife or bread lame to make two 6” long and ½” deep slashes to the top of each loaf (or get creative and design your own set of cuts!) to foster controlled rising as gases escape during baking.
- Use oven mitts to remove pre-heated Dutch ovens and lids from the oven. Quickly and carefully transfer the dough from the bowls, holding by the edges of the parchment paper, into the hot pans. Place lids back on pans and return to oven.
- If baking in pie or loaf pans, simply place pans into the pre-heated oven.
- At the same time the loaves are being placed in the oven, add 1/2- 1 cup boiling water to the steam pan.
- If baking in pie or loaf pans, simply place pans into the pre-heated oven.
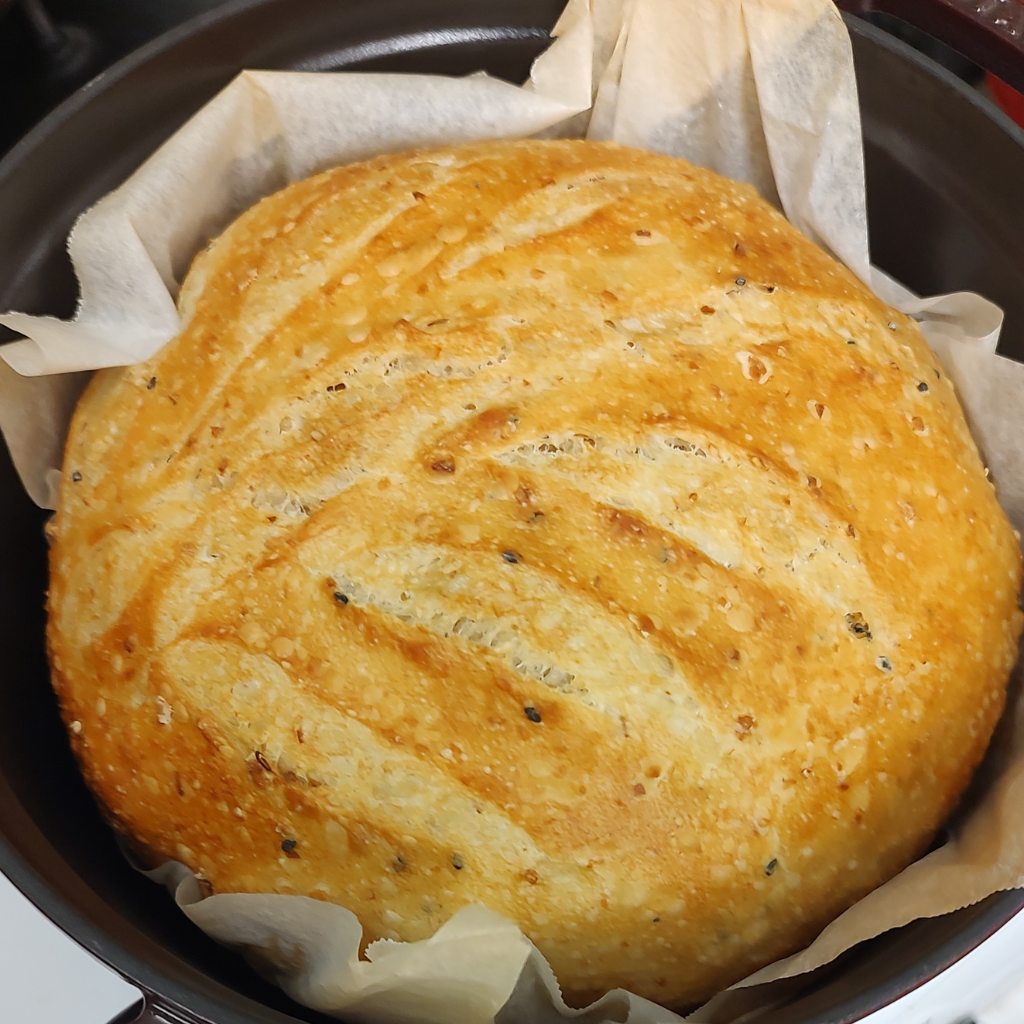
14. Bake loaves for approx. 35-45 minutes or until golden to dark brown and an internal temperature of 190⁰ F. is reached. Use a food thermometer to check loaf temperature, and continue baking, if necessary.
TIP: For a crustier, darker loaf, remove the Dutch oven lids during the final 5-10 minutes of baking.
15. When bread is done, remove baking containers from oven using oven mitts, and lift parchment paper at corners to transfer hot loaves to cooling rack(s). Let cool completely (about 3 hours) before serving.
Ingredients for Making Sourdough Bread
- Sourdough Starter
- Water
- Flour (high protein all-purpose unbleached (11-13% protein)
- Salt
Optional ingredients:
- Chopped dried fruit
- Sliced olives
- Nuts or Seeds
- Specialty flours (whole wheat, rye, etc.)
- Herbs/spices
- Whole grains (e.g. rolled oats)
Supplies for Making Sourdough Bread
Mixing, proofing, and shaping:
- Quart jar or container with tight-fitting lid for maintaining and storing the starter
- One large (8+ quart) mixing bowl to mix your dough by hand
- Liquid and dry measuring cups
- Strong wooden or plastic mixing spoon
- Plastic or silicone bowl scraper
- Two medium (2.5 quart) mixing bowls to proof your dough
- Two food grade bags to cover the proofing bowls
- Cutting board
- Sharp knife or bread lame for scoring the loaves
- Plastic wrap or large (18″x24″) food-safe storage bags (available from restaurant supply sources)
Baking:
- Two deep 5-6 quart or larger cast iron Dutch ovens with tight-fitting lids
- Pans should have a minimum baking height of 5” with the lid on, and 6-7” is even better to avoid the loaf hitting the lid during baking -or-
- Two pie pans or loaf pans + one cake pan (or other short-sided, oven-safe dish to serve as a steam pan)
- Parchment paper
- Heavy-duty oven mitts
- Instant-read food thermometer
- Cooling racks